On-Page SEO Checklist: 25 Fixes for Every New Blog Post
A post can look ready in the editor and still go live with the wrong title, broken links or a setting that keeps it out of Google’s index. Use this 25-point on-page SEO checklist to catch those issues and see which searches bring readers to your post.
Opus Rank
Team ·

You’ve finished a draft and the headline looks right in the editor. Then you open the preview and find that the search title still says “Untitled.” A quick review can catch that before the post goes live. Other problems, like a public URL that asks readers to sign in, only show up when you test the published page.
Use this on-page SEO checklist from the first draft through your first review in Google Search Console.
Match your blog post to search intent
1. Find out what the reader wants to do
Search your target phrase and scan several organic results. For “how to choose a CRM for a small team,” look for decision criteria readers can apply to their own shortlist.
2. Check whether your site already answers the question
Search your archive for posts that help the same audience make the same decision. If you find one, add your new examples or advice to that page.
3. Set a scope you can deliver
Define who the post helps and what they can do after reading. For a five-person sales team, focus on setup effort, seat costs and contact migration.
4. Add a detail that changes the decision
Work through a cost example using clearly labeled hypothetical prices. A plan at $25 per seat per month costs five users $1,500 over a year before extras.
5. Put the answer near the top
Give readers the main decision criteria in your opening paragraphs. In the CRM guide, start with what the team needs to track before explaining how CRM software works.
Blog post SEO checklist for titles, headings and metadata
6. Write a unique title tag
Use a title that names the subject and the task. “How to Choose a CRM for a Small Sales Team” gives readers a clear reason to click.
7. Make the H1 match the title’s promise
Check that the visible headline answers the same question as the title tag. If the title promises a buying guide, the H1 should carry that promise through.
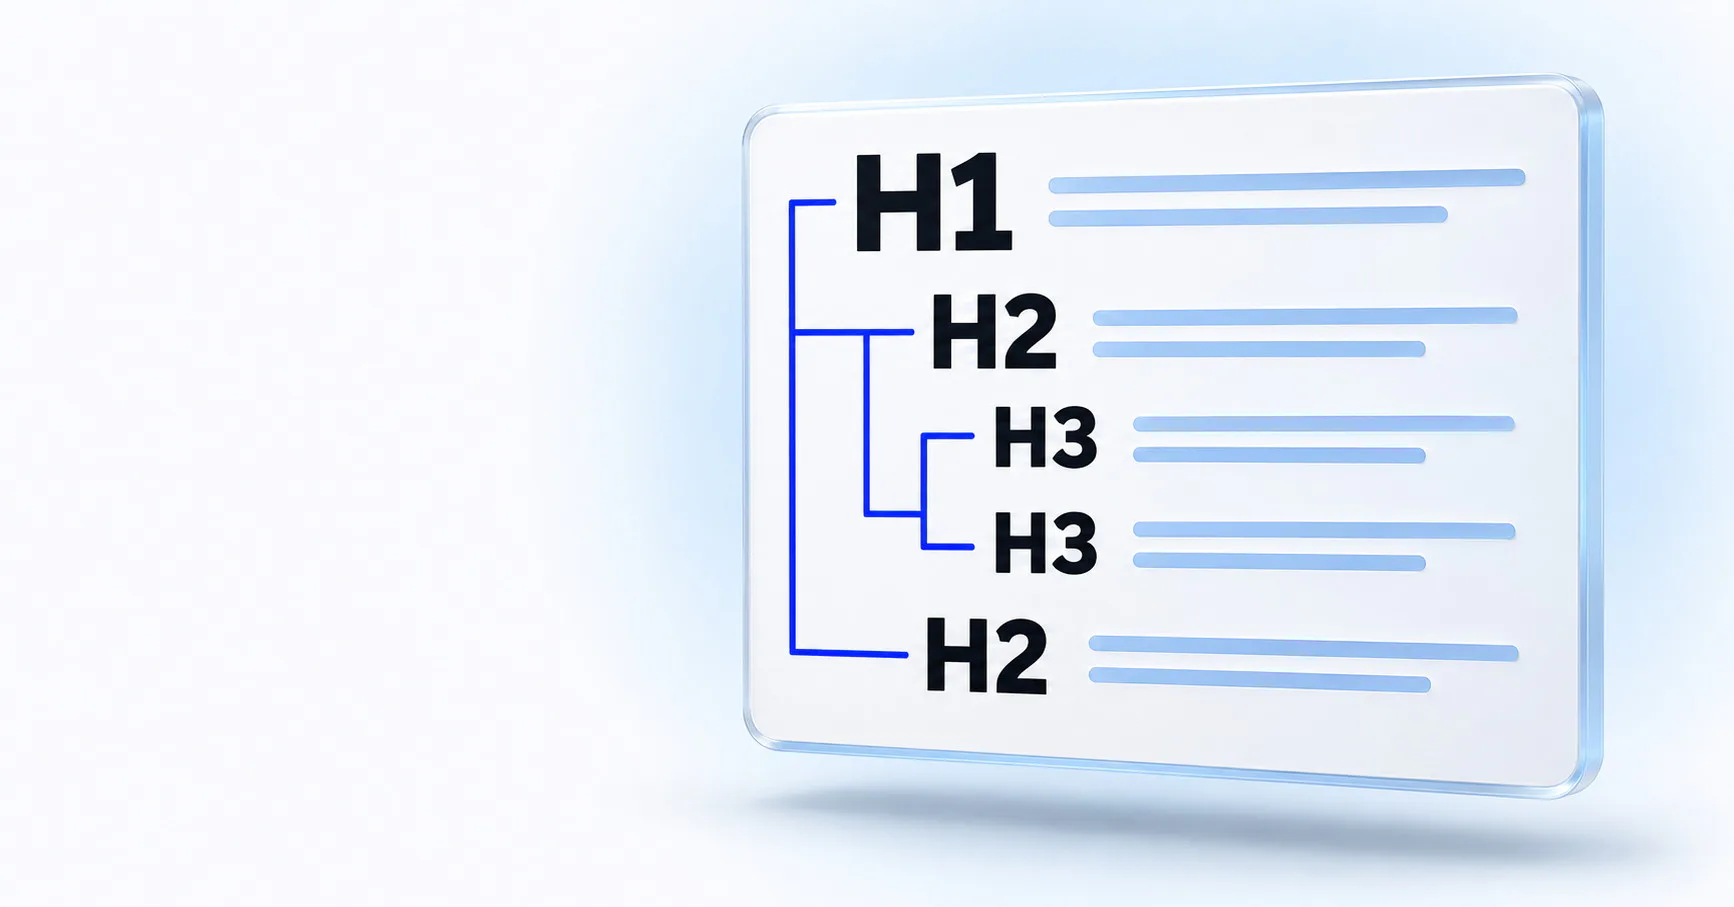
8. Make subheadings useful on their own
Scan the H2s and H3s in order. A heading like “Calculate the Cost for Five Users” makes the pricing example easy to find.
9. Give the post a readable URL
Choose a short slug with recognizable words separated by hyphens. For a new CRM guide, /blog/choose-crm-small-team tells readers what to expect.
10. Write a specific meta description
Summarize what the reader can do after reading, such as compare total seat costs and plan a contact migration. Google may use your description or pull a more relevant passage from the page.
Check internal links and sources before publishing
11. Link to related posts where readers need them
Put a link beside the decision or step it helps explain. In the CRM guide, link to your migration walkthrough where you discuss importing contacts.
12. Add a link from an existing post
Find an older article that gives readers a reason to open the new one. A sales pipeline guide can point to the CRM guide where it discusses choosing software.
13. Replace vague link text
Use anchor text that makes sense on its own. “CRM migration checklist” tells readers what will open when they follow the link.
14. Verify claims against primary sources
Check prices, dates and product features against the original documentation. When quoting software pricing, record when you checked it and verify the billing interval and seat minimum.
15. Test your links in the CMS preview
Open the links readers are most likely to use. Check that each one reaches the intended page and that your sources still support the claims beside them.
Review images, mobile layout and Article markup
16. Use images that explain a step
Choose a screenshot or diagram that helps the reader act. Crop a CRM screenshot around the import settings the reader needs to find.
17. Write alt text that explains what matters
Describe the relevant information in the image, such as the mapping between spreadsheet columns and CRM fields. Use an empty alt attribute for purely decorative images.
18. Resize and compress large images
Serve images at sizes that fit the layout and set their dimensions to reserve space while they load. If the hero image dominates the first screen, load it promptly by turning off lazy loading for that image.
19. Read the preview on your phone
Look for screenshots that spill off the screen or links that are hard to tap. Read an entire section to see whether the finished layout makes you pinch or zoom.
20. Validate Article structured data if your CMS adds it
Run the published URL through the Rich Results Test or test the markup before launch. Confirm that the headline, author, dates and image match the article readers see.
Finish the on-page SEO checklist on the live post
21. Confirm the public URL works while signed out
Open the post in a private window and verify that the full article loads. Use developer tools or URL Inspection to confirm the final URL returns HTTP 200.
22. Check for accidental crawl and indexing blocks
Check whether a staging rule in robots.txt still blocks Google from crawling the post. Look for an unintended noindex directive in the page HTML or response headers.
23. Confirm the canonical URL and sitemap entry
Check that the canonical tag points to the public address you want Google to treat as the main version. If your CMS generates a sitemap, confirm it lists that same URL.
24. Inspect the exact URL in Search Console
Check Google’s indexed record for the published address. If the page is missing, run a live test to diagnose access and consider requesting indexing after fixing the issue.
25. Review the queries that earn impressions
Once impressions appear, filter the Performance report to the post. Read clicks, click-through rate and average position together. If the post appears prominently for “CRM cost for five users” with few clicks, check whether the displayed title and snippet mention the pricing example.
Make this checklist part of your publishing routine
When you’re short on time, check that the opening answers the reader’s question, the title makes the same promise and the public URL works. Use Opus Rank’s draft review tools to check headings, metadata and internal links before sending the post to your CMS.